Inventory
This page features our inventory. We have an EKOCYCLE 3D printer along with many other supplies for the printer. We also have non-3D printed parts that include motors, propellors, and our flight controller.
3D Printer
|
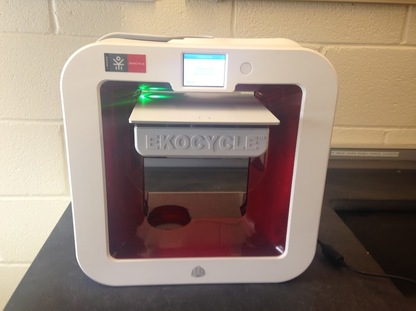
Last year, Coca-Cola partnered with EKOCYCLE to help create 3D printers that were environmentally friendly. All the filament in an EKOCYCLE printer is made from recycled coke cans, significantly reducing environmental impact. During the robotics season Coca-Cola partnered with First Tech Challenge(FTC) and set up a competition in which FTC teams had a chance to win one of 1,600 3D printers. The team applied and won! After the FTC season, the 3D printer came and the team began to set it up, but they were still looking for a challenge. Ms. Cheikh suggested the FabSLAM 3D printing competition, something she had mentored students on in past years. This was a perfectly timed challenge for the team to work together, designing and engineering on a new challenge!
|
|
Printer accesories
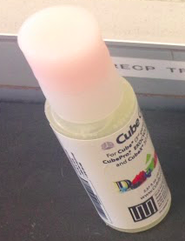
This is glue for the printer. Before printing something, it is important that clue is placed on the printing plate so when the printer begins to lay filament, it doesn't move. This glue is made to dissolve in water, so after something prints, the plate can be rinsed and the glue will come off.
|
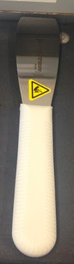
This scraper is used to scrap off the raft underneath a print after it has been printed. Because there is a raft underneath the prints, using this does not damage the prints or the printing plate. After using this scrapper, the plate is rinsed to get the glue off.
|
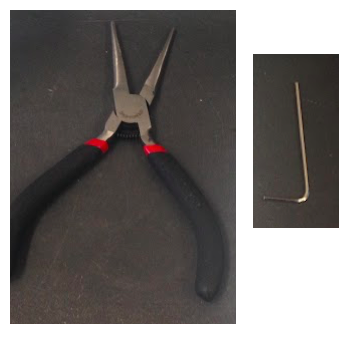
These are tools that came with the printer to help us fix it if necessary. Sometimes the filament gets jammed or the screws under the print plate become lose. These tools help to maintain and fix our printer when necessary.
|
Tools
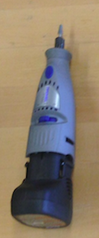
This sander has been a very important tool in our project. After cutting things, it was important that we were able to get a smooth edge. The top can be traded out with different tips that allow us to use different sizes. It can also go at multiple speeds depending on the amount of power we needed. We used it to get the raft off of pieces after they printed, to smooth the wing pieces after we cut them in half, and to sand the inside of holes after we drilled them.
|

This is the coping saw we used to cut pieces in half. At first we weren't sure that it would work, but it ended up working really well. After clamping the wing pieces to the table and supported them with styrofoam, everyone took a turn sawing the pieces in half.
|
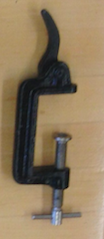
This is one of the many clamps we have. We use clamps to keep pieces in one place when sawing and drilling and to hold pieces together when glue is drying.
|
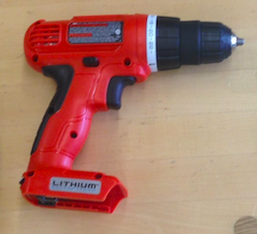
This is the drill we used when drilling holes for screws to connect the different parts of the wings. After securing pieces with clamps, we were able to center and drill all the holes in one meeting.
|
Other parts
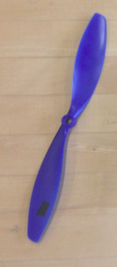
Here is one of our four propellers. The black piece of tape is to balance the propeller, since one side is heavier. Each propeller is ten inches long, just like the propellers in our prototype.
|
Here is one of our motors. Though we only need four, we ordered a few extra just in case. Each motor has a RPM of 900. This is important because these motors have to be able to spin the propellers fast enough to generate enough lift for the drone to fly.
|
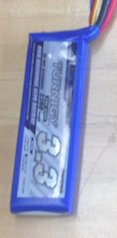
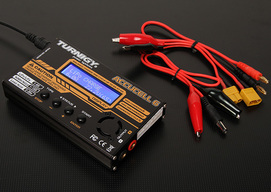
This is the battery that powers the motors. It weighs about 300 grams, which is important because if it is too heavy, it can make the drone too heavy to fly. The battery is also small enough to fit in the bottom level of the base of the drone.
|
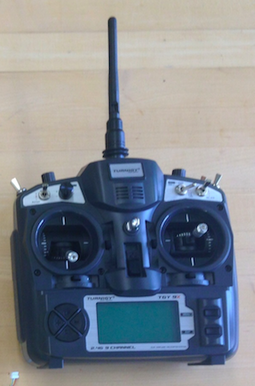
Here is the remote that controls the motors. Though it has been very hard to configure, Myra and Blien finally got it working! Now everyone can take turns flying the drone.
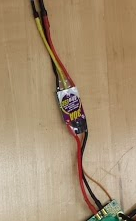
This is an ESC, or an Electronic Speed Controller. Each motor is attached to an ESC, which is attached to the Power Distribution Board. The ESCs interpret the information from the Power Distribution Board, then change the speed of the motors so that they work well together.
|
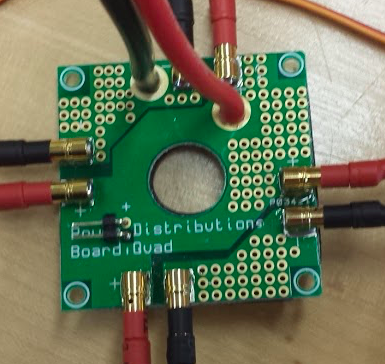
This is the power distribution board. It is connected to the speed controllers, which tell the motors how fast to move. This is what makes it possible for all of the motors to spin at the same time, and allows the drone to go up and down and move in different directions.
|
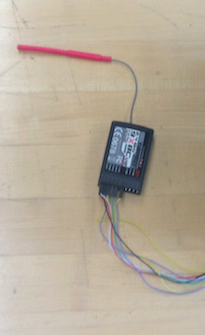
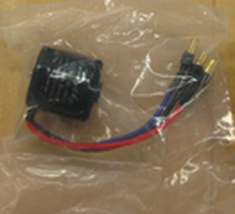
This is the receiver. It sends the signal to the remote which allows us to fly the drone wirelessly. It was hard for Myra and Blien to correctly connect it because there are so many different wires. Each wire connects to a different part of the controller.
|
